
Renovating a house sounds exciting—until you realize how much can go sideways if you do things in the wrong order. People think tearing out a bathroom or slapping on new paint is a good place to start, but skipping the big stuff (think foundations or major plumbing) can leave you redoing your hard work. Here’s a fact: fixing cracked foundations or leaky roofs after you’ve put in new floors is the fast track to frustration and blown budgets.
Start smart. The best pros always tackle the 'bones' of the house first. This means anything structural—foundations, load-bearing walls, roof, and windows—comes before cosmetic changes. Deal with leaks, rot, or saggy beams now, not later. Get this out of the way, and you prevent nasty surprises down the line when you’re actually living in the place.
Some folks think they can jump ahead to interiors because 'the outside looks fine.' Trust me, underneath might tell a different story. Walking through with a notepad and snapping pics of problem spots before calling in any contractors can save a ton of regret. That’s the mindset that separates a smooth remodel from a money pit.
- Start with Structure: Foundations and Walls
- Get the Dirty Stuff Out of the Way Early
- Now for the Fun Stuff: Interiors and Fixtures
- Polish Off with Final Touches and Deep Cleaning
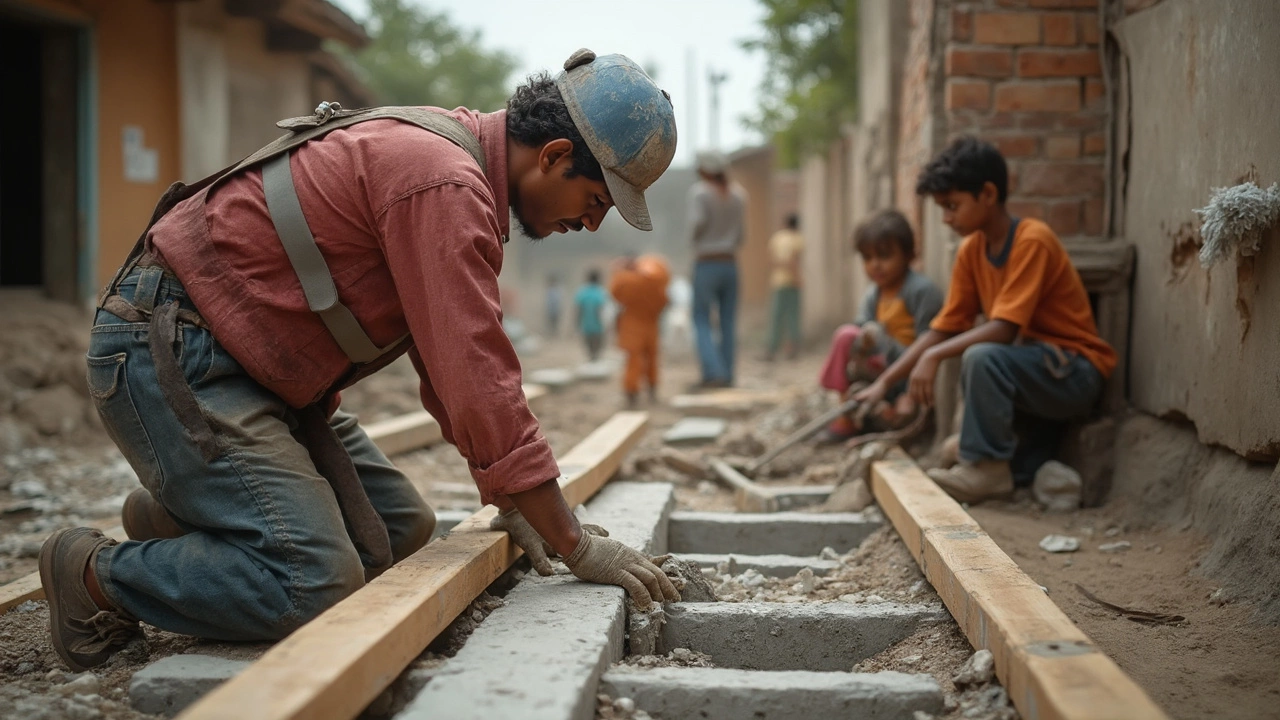
Start with Structure: Foundations and Walls
If your house isn't solid on the bottom, everything else you do is just putting lipstick on a pig. When you start any home renovation order, the foundation and structural walls should be at the top of your checklist. You might be itching to get to the pretty stuff, but skipping this step is asking for big, expensive headaches down the road.
Cracks, settling, and water leaks in foundations are more common than most folks think. In the U.S., around 25% of homes experience some kind of foundation trouble. That's not a small number. If you notice doors that stick, windows that won’t shut, or uneven floors, those could be warning bells. Even newer houses aren't immune—poor drainage or tree roots can mess things up fast.
Here’s what makes this step critical:
- Identify structural issues early: These are usually the costliest to repair and may affect permitting later.
- Provide a stable base: All remodels need stable floors and walls. Nothing should wobble or sag.
- Solve moisture problems: Water damage or mildew means you’ll have to redo anything built on top of it.
So, what do pros actually do? They check the foundation, look for cracks or shifts in the walls, and make sure the house is level. Simple tools like a level, moisture meter, and a flashlight go a long way. If there’s doubt, call in a structural engineer—seriously, it’s money well spent.
Let’s clear up what to look for during this stage:
- Inspect basement or crawl spaces for standing water or dampness.
- Walk the house and feel for sloping floors.
- Look for large, zig-zagging cracks in walls, especially near doors and windows.
- Check exterior grading—does rainwater run away from your foundation?
Straightening up a house isn’t just about less squeaking or fewer stuck doors. If you don’t fix these areas first, you run the risk of ruining finished floors, cabinets, or drywall you install later. It’s not dramatic—it’s just the reality of building science.
| Common Structure Issues | Average Cost to Repair (USD) |
|---|---|
| Foundation Cracks | $2,000 - $7,500 |
| Sagging Floor Joists | $1,000 - $5,000 |
| Major Structural Wall Repairs | $5,000 - $15,000 |
Bottom line: always fix the bones first. It keeps your project (and your wallet) from falling apart later.
Get the Dirty Stuff Out of the Way Early
Dealing with messy, major jobs up front isn’t just for your peace of mind—it actually protects your budget and schedule, too. We’re talking about things like demolition, electrical rewiring, plumbing updates, and anything to do with insulation or HVAC. This phase is noisy, dusty, and can reveal hidden problems that might change your plan.
If your wiring is shot or your old pipes are about to leak, you want to fix that before putting in new drywall. According to the American Housing Survey, 24% of major home remodels hit snags because a system—like electrical or plumbing—needed more work than expected. Ripping out fresh work because you missed something is easily the top nightmare in home renovation order.
- Demolition: Take out old cabinets, flooring, and non-load-bearing walls. Don't try to be gentle; you want the area totally ready for rebuilds.
- Electrical & Plumbing: Bring in licensed pros for rewiring and pipe swapping. Updating these systems now avoids that awful "why is my new ceiling wet?" moment later.
- HVAC and Insulation: These jobs involve running ductwork or adding insulation inside open walls or ceilings. Messy now, but so worth it.
Want a quick look at how these dirty jobs might impact your timing? Check out the average duration (in weeks) these tasks take on a typical three-bedroom house:
| Task | Average Duration (weeks) |
|---|---|
| Demolition | 1 |
| Major Electrical | 1-2 |
| Plumbing Updates | 2 |
| Insulation & HVAC | 1 |
Tackle these jobs now, and you’ll finish with less dust, fewer surprises, and a house ready for the fun stuff. Skipping ahead means more delays and way more stress.
Now for the Fun Stuff: Interiors and Fixtures
This is where things start to look like your dream home instead of a construction zone. When your structure, rough plumbing, electrical, and insulation are done, you can finally focus on what you see and touch every day—the home renovation order gets a lot more interesting here.
First up, tackle drywall and painting. You want every wall finished and dried before dragging in cabinets, light fixtures, or flooring. Pros usually go in this order for a reason: if you paint after flooring, accidents and spills can cost you extra repairs.
| Step | Why It Matters | Common Pitfall |
|---|---|---|
| Drywall & Paint | Gets messy jobs out of the way first | Ruined floors if done too late |
| Flooring | Prevents dust from landing on new surfaces | Gaps if trim goes in first |
| Cabinets | Lets you fit appliances and sinks seamlessly | Poor fit if floors aren’t level |
| Interior Doors/Trim | Final fit after floors and cabinets | Have to yank and repaint if installed too soon |
| Fixtures & Hardware | Last step—prevents chips and scratches | Damage from tools or dust if installed early |
Stick to this sequence and you’ll avoid most rookie mistakes. Quick tip: Always unpack and check appliances, lighting, and fixtures before install day. Damaged goods are way easier to swap before they’re built in.
Did you know the National Association of Home Builders says cabinets, appliances, and flooring make up about 45% of typical remodeling costs for kitchens? Spending more here means living with the look for years; skimping might make you regret it every time you open a drawer. Treat choices in these areas like an investment, not a splurge.
Finally, keep things clean between installs. Dust from drywall or sanding can ruin a paint job or mess up flooring glue. A shop vacuum is your friend—use it early and often.
Polish Off with Final Touches and Deep Cleaning
Here’s where you get to actually see the payoff of all the hard work. Once the construction dust settles and main installations are done, it’s time to wrap things up with the details people notice first—handles, light switch covers, baseboards, and paint touch-ups. These seem minor but skip them, and your new space will always look half-finished.
If you installed new flooring, get rid of protective coverings and make sure every inch is free of glue residue or stray nails. Pick up all leftover materials, and check if anything needs a quick patch—maybe a dent in the drywall from a dropped hammer or a scuffed cabinet door. Caulking edges around sinks and tubs is often overlooked, but it stops future water damage and gives your place that sharp, "just-done" look.
Once you’re satisfied with the finishes, bring in the heavy-duty cleaning supplies. Even a careful remodel coats every surface with dust, so tackle this step with a plan. Go room by room:
- Wipe down all walls, trim, and shelving to catch fine dust particles.
- Vacuum floors, then mop to remove any remaining grit (especially if you laid new floors).
- Clean out HVAC vents since they can trap dust and blow it back when you start using heat or AC again.
- Wash windows inside and out to let your hard work shine through—smudges on new glass are a letdown.
Put back outlet covers and attach any door hardware last. This is when it’s totally safe to rehang art or move furniture without risking more mess. Some people hire pro cleaners at this stage because that final shine can be hard to get on your own—worth considering if you’re feeling burnt out.
Don’t forget: This is the best time to double-check your work against your original home renovation order checklist. Make sure nothing’s missing or half-done. These little steps make your renovated space truly feel finished and leave a solid impression on anyone who walks through the door.