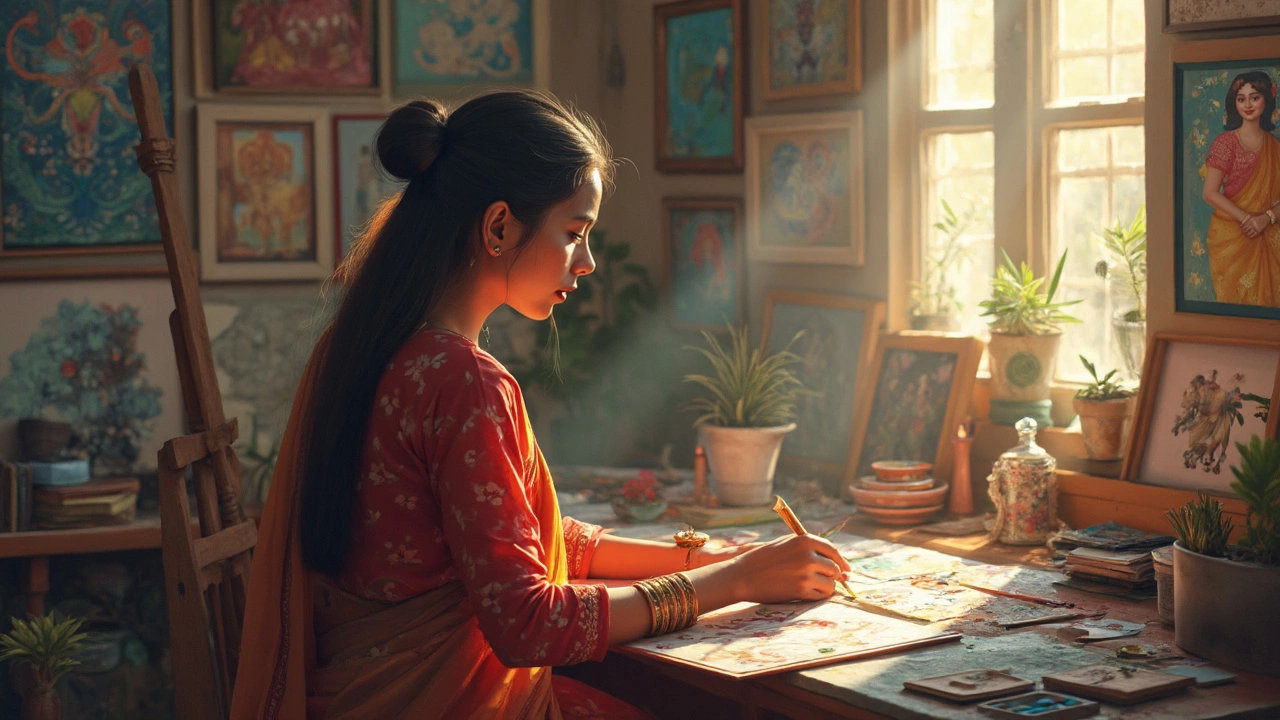
Ever looked at your favorite photo and thought, 'This deserves to be on my wall'? You're not alone. Turning a picture into wall art is more accessible than you'd think and a fantastic way to personalize your space. Let's break it down step by step.
It all starts with choosing the right picture. You want something that resonates with you every time you pass by. Look for photos with strong colors or interesting subjects that capture the eye. Whether it's a family moment, a travel snapshot, or a piece of digital art you've created, make sure it strikes a chord.
Next, consider different printing options available. High-quality prints can be made on canvas, metal, or traditional photo paper. Each material gives a different vibe, so think about what complements your room's design. Canvas gives an artistic feel, while metal offers a modern edge.
Picking the perfect frame can be a game-changer. It enhances the art and ensures it's the room's centerpiece. From minimalist to ornate, chosing a frame depends on personal taste and room style. Don't overlook frames—they're as crucial as the artwork itself.
- Choosing the Right Picture
- Exploring Printing Options
- Picking the Perfect Frame
- Enhancing with Additional Art Supplies
- Arranging Your Wall Gallery
- Maintaining Your Artwork
Choosing the Right Picture
Picking the right picture is step one in turning your memories into stunning wall art. It's not just about the photo's subject; it's about how it makes you feel. You want something that tells a story or evokes a mood every time you glance at it.
Personal Connection
Your wall art should tap into personal connections. This could be a family gathering, a serene landscape from your travels, or a beloved pet's candid moment. Let the photo take you back to a cherished memory.
Quality Matters
Check the quality of the picture. A higher resolution image will look better when blown up. Make sure your picture isn't blurry or pixelated. The better the picture's quality, the more detail you can preserve when it's turned into art.
Consider the Colors
Look at the colors in your chosen picture. Bright and bold might make a statement, while softer hues could add to a calm environment. Consider the room's existing color palette so your photo art complements the space rather than clashes with it.
Composition & Balance
Be mindful of composition. A balanced photo with a clear focus tends to work best for DIY wall decor. If it looks well-framed in the camera, chances are it'll look great on the wall.
Trendy Tips
Single shots are great, but don't shy away from collages or diptychs. They can tell a multi-layered story. Plus, they’re great for showcasing a series of related photos.
| Image Type | Suggested Use |
|---|---|
| Portraits | Living rooms and hallways |
| Nature Scenes | Bedrooms and home offices |
| Abstracts | Study areas and creative spaces |
Exploring Printing Options
Once you've picked that winning photo, it's time to decide how you want to print it. Different printing options can give your picture a completely new look and feel, so let's dive into some popular choices.
Canvas Prints
If you're aiming for a more artistic vibe, canvas prints are the way to go. They can transform your photo to resemble a painting, offering a textured finish that's easy on the eyes. They're lightweight, meaning hanging them is simple, and they require no frame, giving you a clean, modern look. Plus, they're durable and won't glare in sunlight.
Metal Prints
Looking for something edgy? Metal prints might just be your thing. They bring out high contrast and vivid colors, giving your wall art a striking appearance. The process involves infusing dyes directly into coated aluminum sheets, making them resistant to fading and moisture. Perfect for bathrooms or kitchens, where humidity levels are higher.
Traditional Photo Paper
If you prefer a classic approach, printing on traditional photo paper is as timeless as it gets. Available in glossy or matte finishes, these prints offer stunning clarity and sharpness. The glossy finish gives a high-shine look that pops, while matte feels a bit more subdued and eliminates glare.
Giclée Print
For top-notch quality, consider giclée prints. They use high-quality inks and precision technology to capture details beautifully. Popular among artists and galleries, these prints are usually found on canvas or fine art paper. Though on the pricier side, the quality speaks for itself.
Whatever printing option you choose, match it to the style and vibe of your room. Most photo services offer previews, so you can see what your picture will look like before committing. Take advantage of any options that let you see the finished product in your actual space using augmented reality apps—it's like test driving your next big decor move!
Picking the Perfect Frame
Choosing the right frame is crucial if you want your wall art to pop. A well-chosen frame can either make your photo blend seamlessly with your decor or stand out as a bold statement. Here's how you can pick the perfect one for your space.
Consider Your Style
First, think about the overall style of your room. Is it modern, traditional, or somewhere in between? If you've got a sleek and modern setup, a simple metal frame might do the trick. For a cozier, rustic vibe, a wooden frame with some texture adds warmth and character.
Matting Options
Should you use a mat? The answer often depends on your art. Matting can give breathing space around your picture, making it look more substantial. It can also help focus attention on the photo art itself. White mats are classic, but if you're feeling bold, a colored mat can add a bit of personality.
Frame Size and Proportion
The frame size should complement the room and photo size. Larger frames work well for large spaces but can overwhelm smaller rooms. Measure the wall and artwork to ensure your frame fits proportionally. Recommended is keeping a balance that doesn't overcrowd the wall.
Materials Matter
The frame's material affects its look and durability. Wood is classic and versatile, offering everything from a polished to distressed appearance. Metal is more contemporary and can provide cleaner lines. Acrylic and plastic can be lightweight options for casual settings.
Lighting Considerations
Frames with anti-glare glass can be worth the investment if your wall decor is in a sunlit room. It helps reduce reflection and keeps the focus on your wall art.
| Frame Material | Style Suitability |
|---|---|
| Wood | Traditional, Rustic |
| Metal | Modern, Industrial |
| Acrylic | Casual, Contemporary |
With these tips, you're equipped to choose a frame that not only protects your picture art but also enhances your home's overall aesthetic.
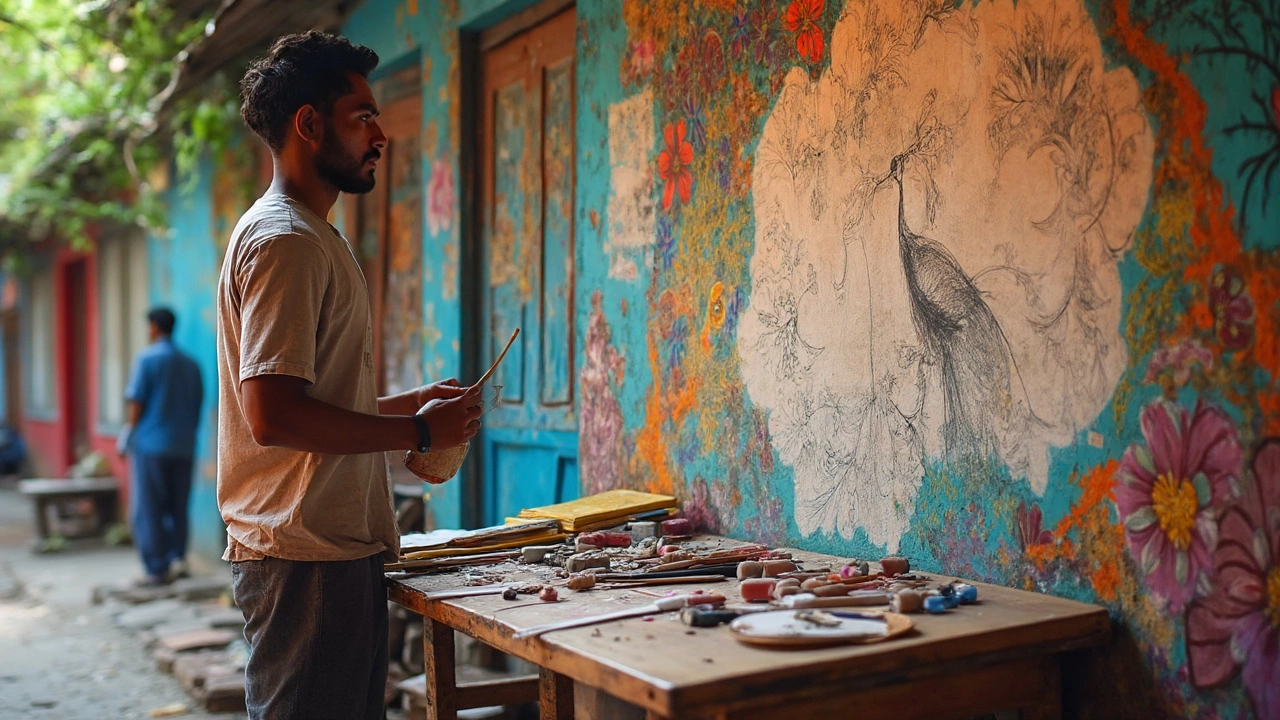
Enhancing with Additional Art Supplies
Once you've got your picture ready and printed, it's time to think about how you can take it up a notch. Adding art supplies is like giving your wall art a bit of extra flair. Let's talk about some fun and easy ways to do this.
Using Acrylic Paints
If you're going for a textured or more dimensional look, acrylic paints can be a great add-on. Try using a small brush to highlight parts of the photo or create a colorful border. This technique is simple but can create striking effects, especially on canvases.
Adding Textures with Mod Podge
Mod Podge is a crafter's secret weapon. It's a special glue that can be used to add texture to your photo. Apply a thin layer over your DIY wall decor to give it a finished look or experiment with multiple layers for added texture. Just make sure it dries clear so your picture still shines through!
Experimenting with Stencils
Stencils are fantastic if you want to add designs like flowers or geometric shapes around your photo. Stencil the edges of your picture to give it that professional touch. Pick colors that match the tones in your picture for a cohesive look.
Using Scrapbooking Materials
Consider using scrapbooking materials like stickers, paper cutouts, or ribbons to add a playful element. This is especially great for photo art of family gatherings or kids' rooms. It's both fun and budget-friendly.
Exploring Natural Elements
Try using some natural elements like dried flowers or small stones to give your picture an organic twist. Glue them strategically around the frame to add an earthy vibe to your space.
With a little creativity, you can transform your simple picture to art with the help of these supplies. Remember, it's all about making your wall art uniquely yours.
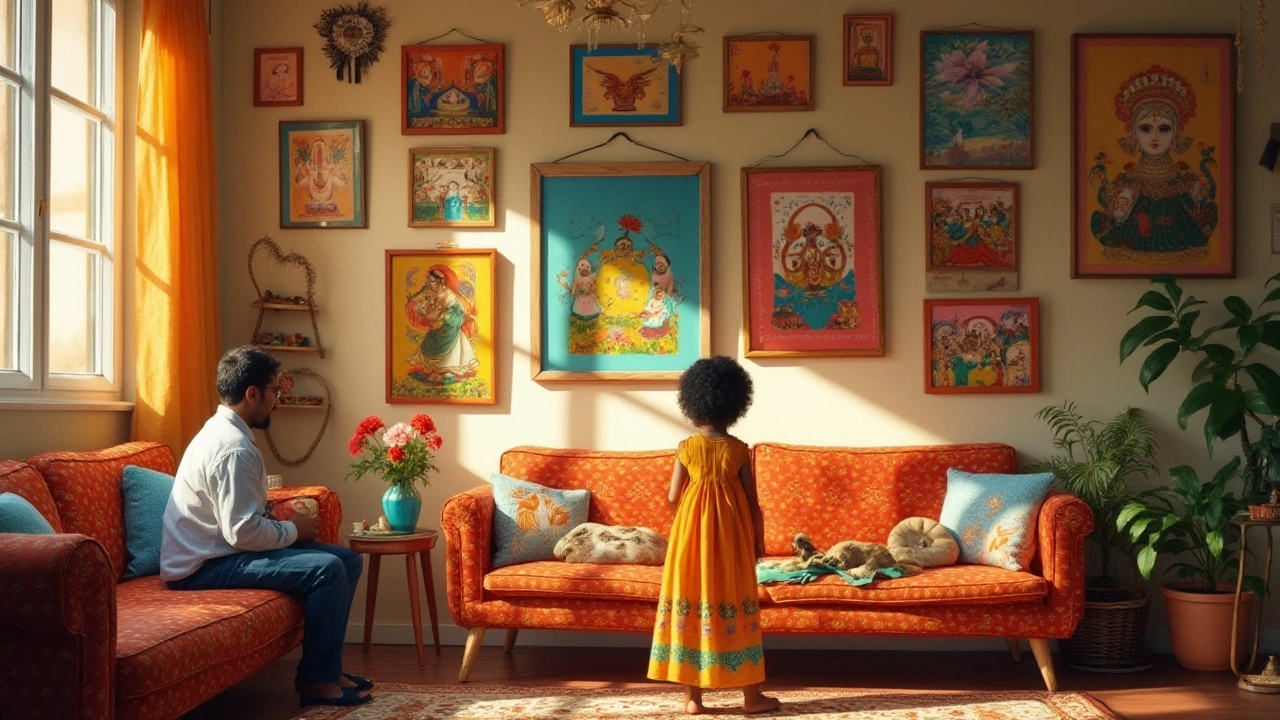
Arranging Your Wall Gallery
You've got your stunning wall art ready, but now comes the fun part: arranging your wall gallery. It's like putting together a puzzle, but way more creative!
Start by planning your layout. Lay your picture to art pieces on the floor to try out different arrangements before committing to nails and hooks. A useful tip is to snap a photo of each arrangement with your phone. It gives you an idea of how it would look and helps you decide on the final design. Remember, there's no right or wrong way, but symmetry usually brings calm, while asymmetry can feel dynamic.
The Proper Height
Height is crucial. As a general rule, hang artwork so its center is at eye level. For most, that's around 57 to 60 inches from the floor. In other setups, like when hanging above furniture, leave between 6 to 12 inches from the top of the furniture to the bottom of the art.
Spacing Your Art
Spacing between pieces is the secret sauce. Keep similar spacing around 2 to 3 inches apart. Too much space and your walls will look fragmented; too little, and they might feel cramped.
Mixing and Matching
Blend different styles, sizes, and orientations for an eclectic look. Don’t shy away from mixing DIY wall decor with store-bought finds. A gallery wall is an excellent opportunity to showcase everything and make them work together.
"When arranging a gallery wall, don't be afraid to mix textures and colors. This creates interest and keeps the eyes moving," says interior design expert, Sarah Richardson.
Trial Runs
If you’re nervous about committing, consider a trial run with templates. Cut out paper shapes the same size as your photo art and tape them to the wall. This way, you can visualize without leaving holes in your wall.
For the Data-Inclined
A fun fact: According to a 2024 survey, 85% of homeowners are satisfied with their gallery walls, reporting increased happiness and a renewed interest in home aesthetics after installation.
Remember, your gallery wall should tell a story and reflect your personality. So take your time, enjoy the process, and let your creativity take the lead!
Maintaining Your Artwork
Once you've transformed that picture into wall art, keeping it looking fresh is key. Artwork maintenance isn't just about dusting—it involves a few more tricks to ensure longevity.
Beware of Sunlight
Direct sunlight is the artist’s nemesis. It can fade colors and warp materials. Try to hang your precious pieces away from direct exposure. If that's not an option, consider UV-protective glass for your frames. This small step goes a long way in protecting your art.
Control the Climate
Extreme temperatures or humidity levels can damage your art. If your house tends to get a bit tropical, a dehumidifier can work wonders. Keeping the temperature steady is a smart move too, especially for canvas art. It prevents potential warping or cracking.
Regular Cleaning
Dusting your wall art might sound like a no-brainer, but there's a right way to do it. Use a soft, dry cloth to gently wipe your frames and the art itself. For more thorough cleaning, some frames allow glass removal, so you can clean both sides.
- Avoid harsh chemicals—they can damage the artwork.
- For paintings on canvas, a light going-over with a feather duster works well.
- If you’re unsure, consulting a professional conservator can help keep your wall art safe.
Check Your Hanging Hooks
Don't overlook the hangers or nails you've used. Give them an occasional check. Over time, hooks can loosen, leading to unexpected falls. Snug them up to avoid any disasters.
Taking a little time to maintain your artwork keeps it not only in great shape but preserves its sentimental value too. A bit of care goes a long way in showcasing your DIY wall decor at its best.